Many companies and magazines that produce a lot of online content are now deciding to create in house studios. This is the recent project for PURCH. PURCH is responsible for a lot of the tech reviews and new product launches of tech devices.
They wanted a set that could be multi- functional. As in one room needs to be divided into 2 looks that could also transform into 1 large set or be 2 separate ones
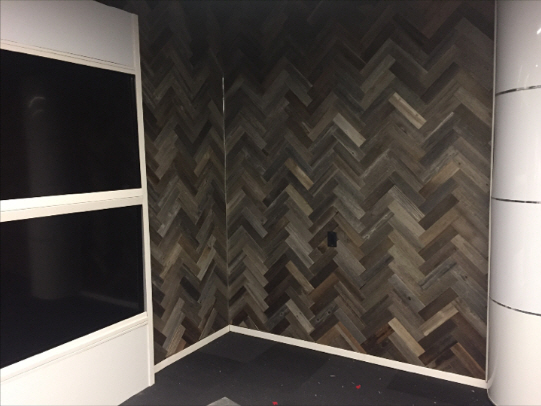
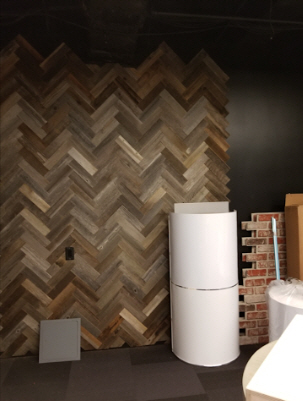
We wanted it to have this rustic warm feeling with touches of "slick"elements to tie it all together. We decided to make a herringbone pattern of reclaimed wood and white wash it and then link a set of brick wall with some pipes and industrial elements to make it seem like rustic side.
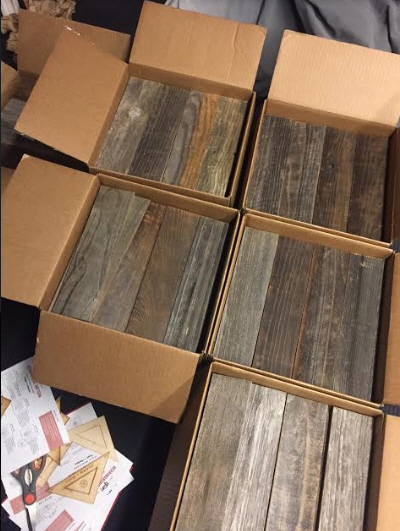
The reclaimed wood came from my new favorite place and the most helpful people Plank and Mill. Before I started I called them to ask exactly how much time and effort needed to be planned on. This wall was a LOT of work - but it looks fantastic. The wood all comes pre stuck with this industrial tape. Peeling off tape is a lot of the time - but it was perfect for installing in this former office space. Mitering the edges can be done with a compound saw if you have a lot to do. If not the wood is thin and you can use a hand saw and go for it!
One thing to think about is actually giving a bit of breathing room in between each piece of wood. I wanted each piece to be like perfectly next to each other ... and that may be my fake OCD kicking in. In reality a little space is GOOD, makes the install so much easier, and the pattern making faster.
A good point to know - is when it's all finished and you look back at the wall you will never notice that baby gap. And it probably gives a bit if expansion and "wiggle room" with humidity and heat expanding and contracting the wall.
People always say painting is the more affordable way to change a room but this wood wall is way less messy than painting and in the end you have a WALL of real wood to make the look amazing.
Here are 2 links below - one is for the kit I used it gets you 20 Sq feet herringbone pattern the other is for 10 Sq feet which is great for one wall and is a straight linear application.
BOTH ARE EASY GREAT KITS - I love that they made this so simple to use.
Over all the wall looks fantastic! Yah!
if you want to see the wood finishes this is the link to get a sample kit. Which is good to see exactly what you are getting and the color of the finishes.
THIS IS THE LINK FOR THE SAMPLE KIT to see if you like the finishes.
Now for the other side ....
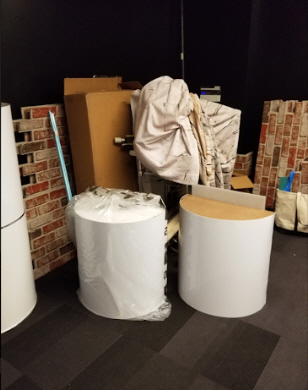
I found online brick panels and then all we had to do was screw them in and then caulk over the holes and make them look convincingly that they were real. The company actually created the corners for me which helped so much.
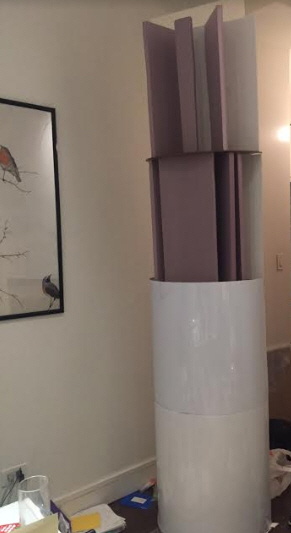
The right OH no came when budget was strapped and we needed a 24 inch column to link the two sets. As an over shooting element on the side. I had to make it!
Canal plastic provided the best place to start with. I got think plastic I could bend to shape , silver thing strips. Home depot had the MDF and then I took pink rigid insulation to help with rigidness. Then Hot glue in hand I went at it making this column that then had to be transported to set. I made the base section first about 4feet high as one part and then the two other sections to stack up and connect once it was up at location. This piece was about 9 almost 10 feet high. But it proved engineering and creativity is what I needed to make this piece.
We boxed in 2 flat screen TV's to look like a window and POOF ! IT was done.
I am happy to further explain what I did or who I spoke to for materials. Just leave a comment or message me. I am happy to show you more details of how it installs, issues I had to trouble shoot, and a real person install. It is easy but there are some tips.


